|
TAB UNITY SDK VERSION 8.11
|
|
TAB UNITY SDK VERSION 8.11
|
All the game resources must be placed to the C:\Fun4Four\NZilla folder. Within that folder, create a game subfolder named after your game ID (see Requesting your game IDs).
You'll also need to set up a special DLL that links your game to the F4F framework. The DLL is prepared for you already, you can find it within the C:\Fun4Four\NZilla\Developer folder. It is called UnityGamesDll-dll-vc80-dr-dev.dll. You'll have to copy this DLL to the root of your game subfolder, and change the default game ID (UnityGamesDll) to your specific game ID. Make sure you keep the "-dll-vc80-dr-dev.dll" part of the file name exactly as it is.
For example, the game ID of our demo project is "UnitySDKDemo" and the folder structure will look like this:
To then make the F4F emulator to also display your game you have to declare it within the GameSettings.ini file (see ZIP contents). The INI file is formatted to contain different sections. Each section represents one game.
You'll need to create a new section for your game. The name of your section is again the game ID. For each section, you can define settings like the display name of the game or the category the game will be associated with. It should be easy to add your section, as the INI file contains inline documentation as well as an example that you can copy, paste and adjust.
Given our example from above, the INI file section for the demo game looks like this:
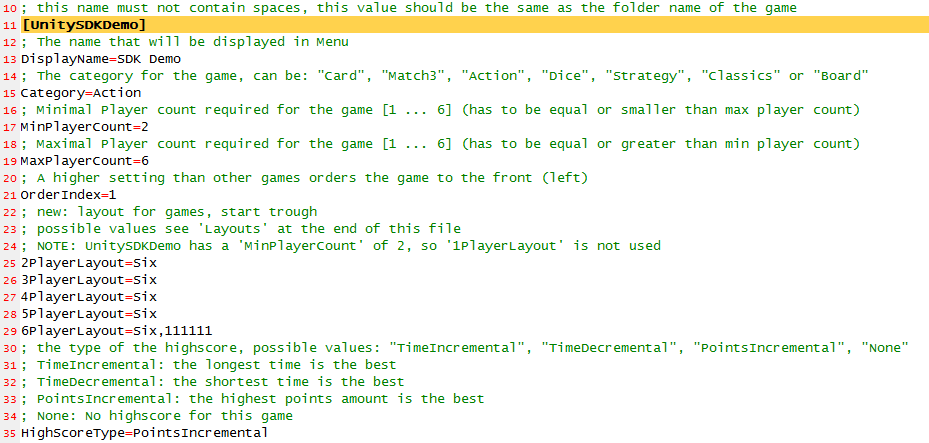
Note: You can add as many games as you like to the INI file, the sky is the limit.